Well it’s here…
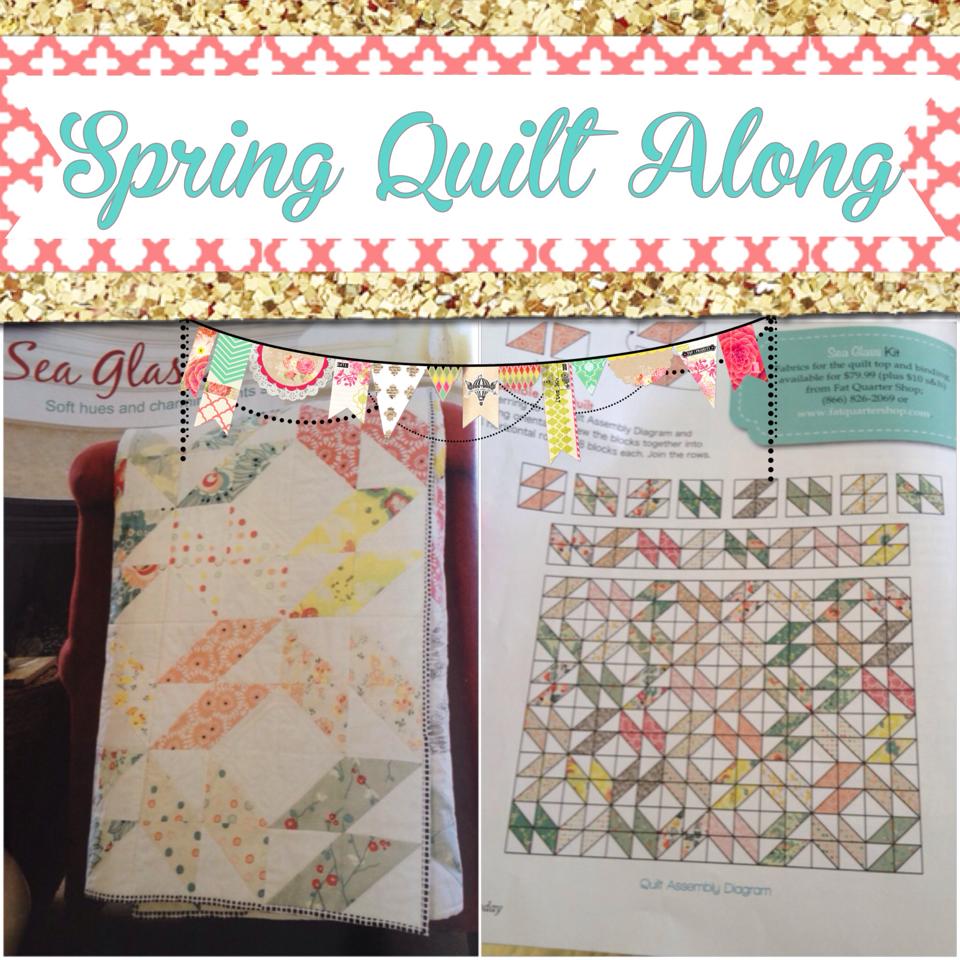
You’ve picked your fabulous fabric, Pressed it perfectly, and Carefully made your cuts. So the time has come to put needle to thread & foot to petal. Lets get started with the first step in making our Sea Glass Quilt, The Half Square Triangle.
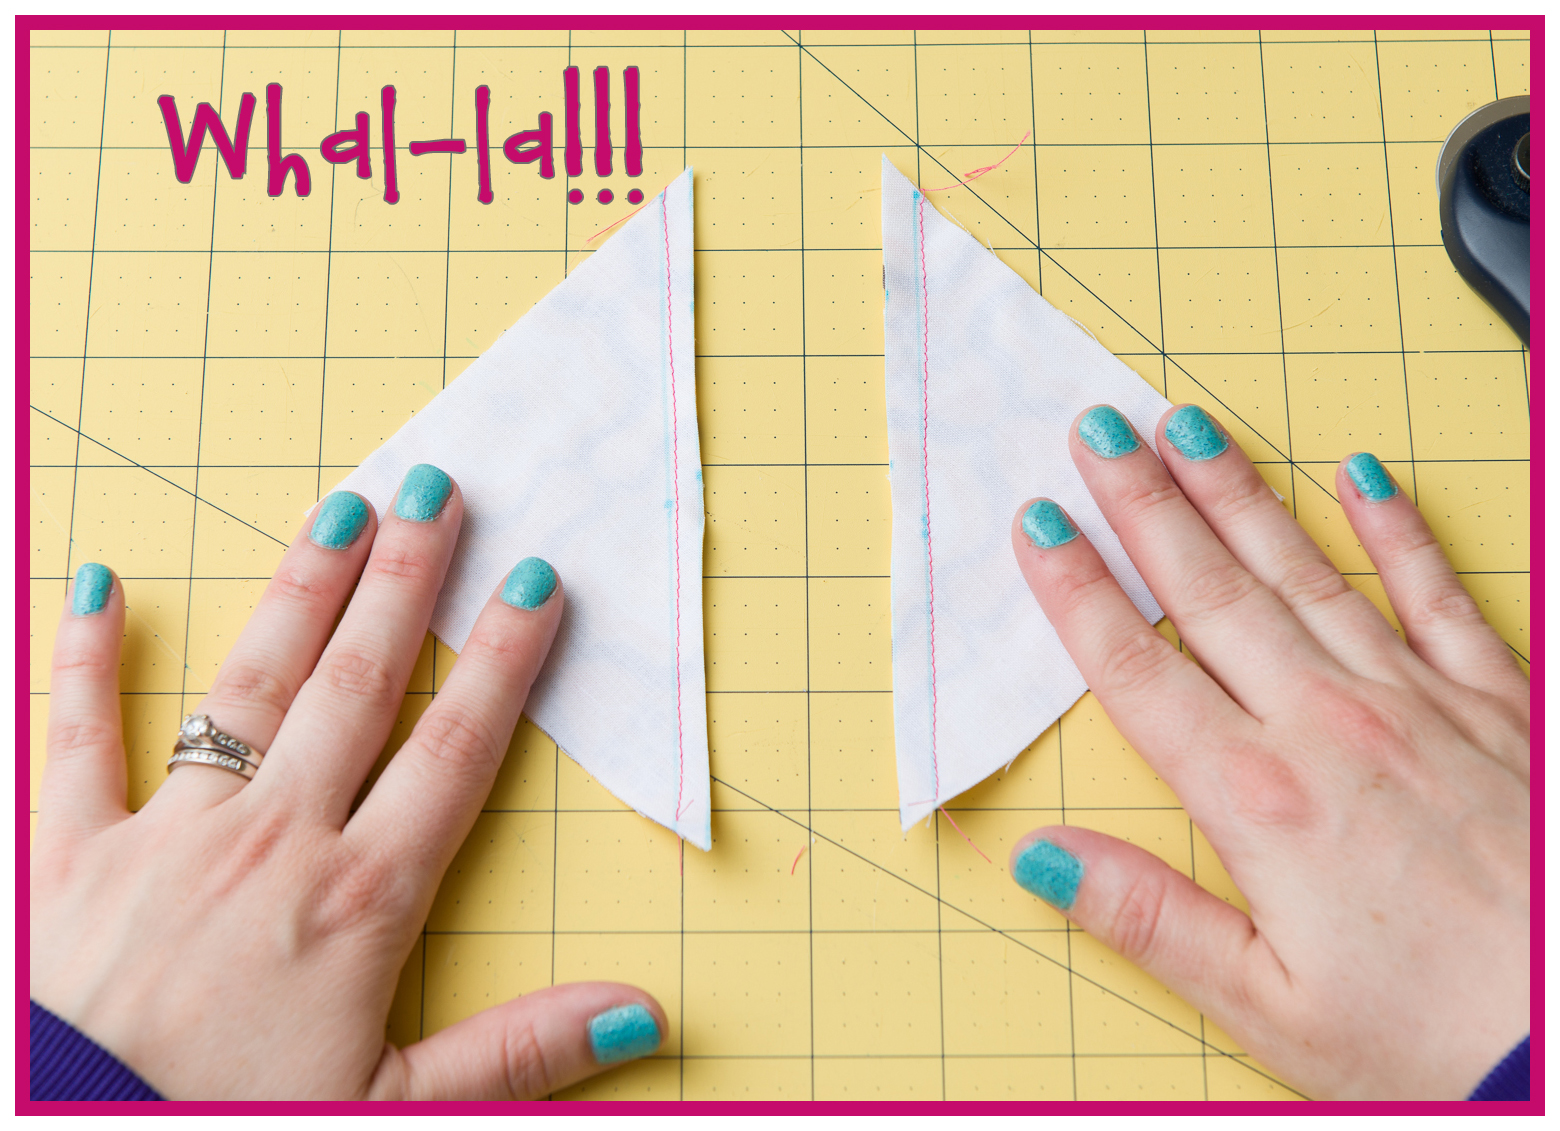
Half square triangle (HST)’s are made from a square that has been cut diagonally in half, Resulting in 2 separate triangles.
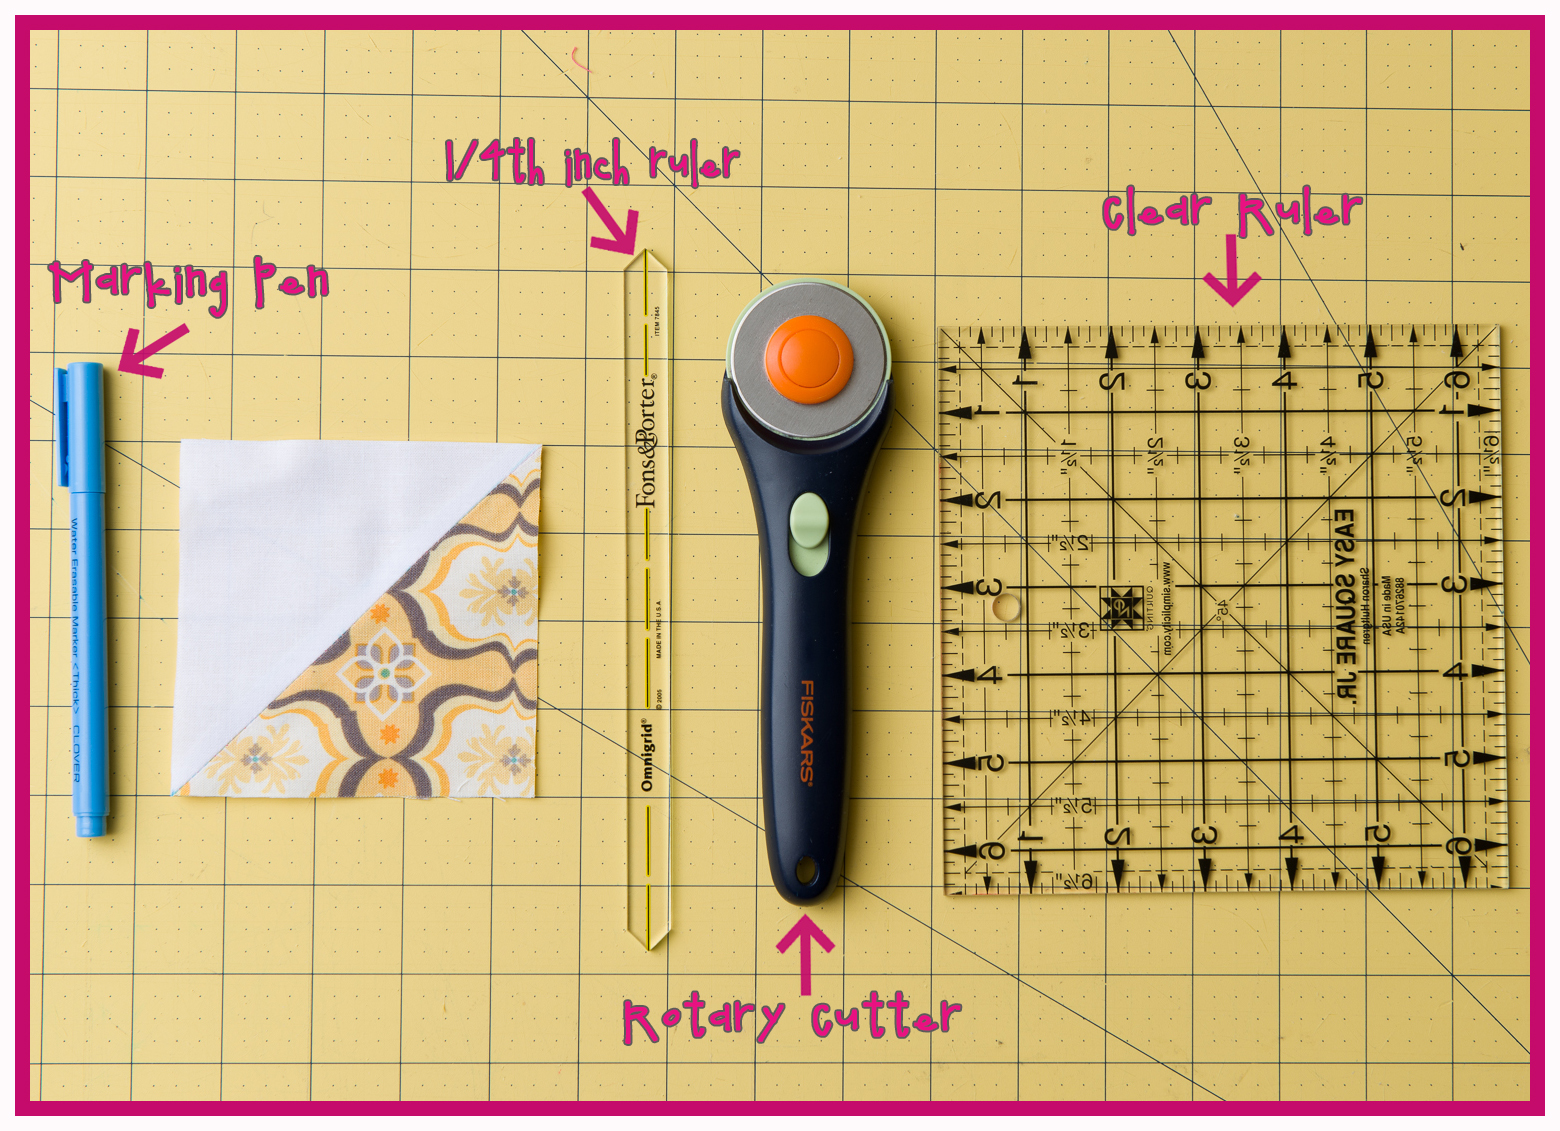
The tools I’m using to day:
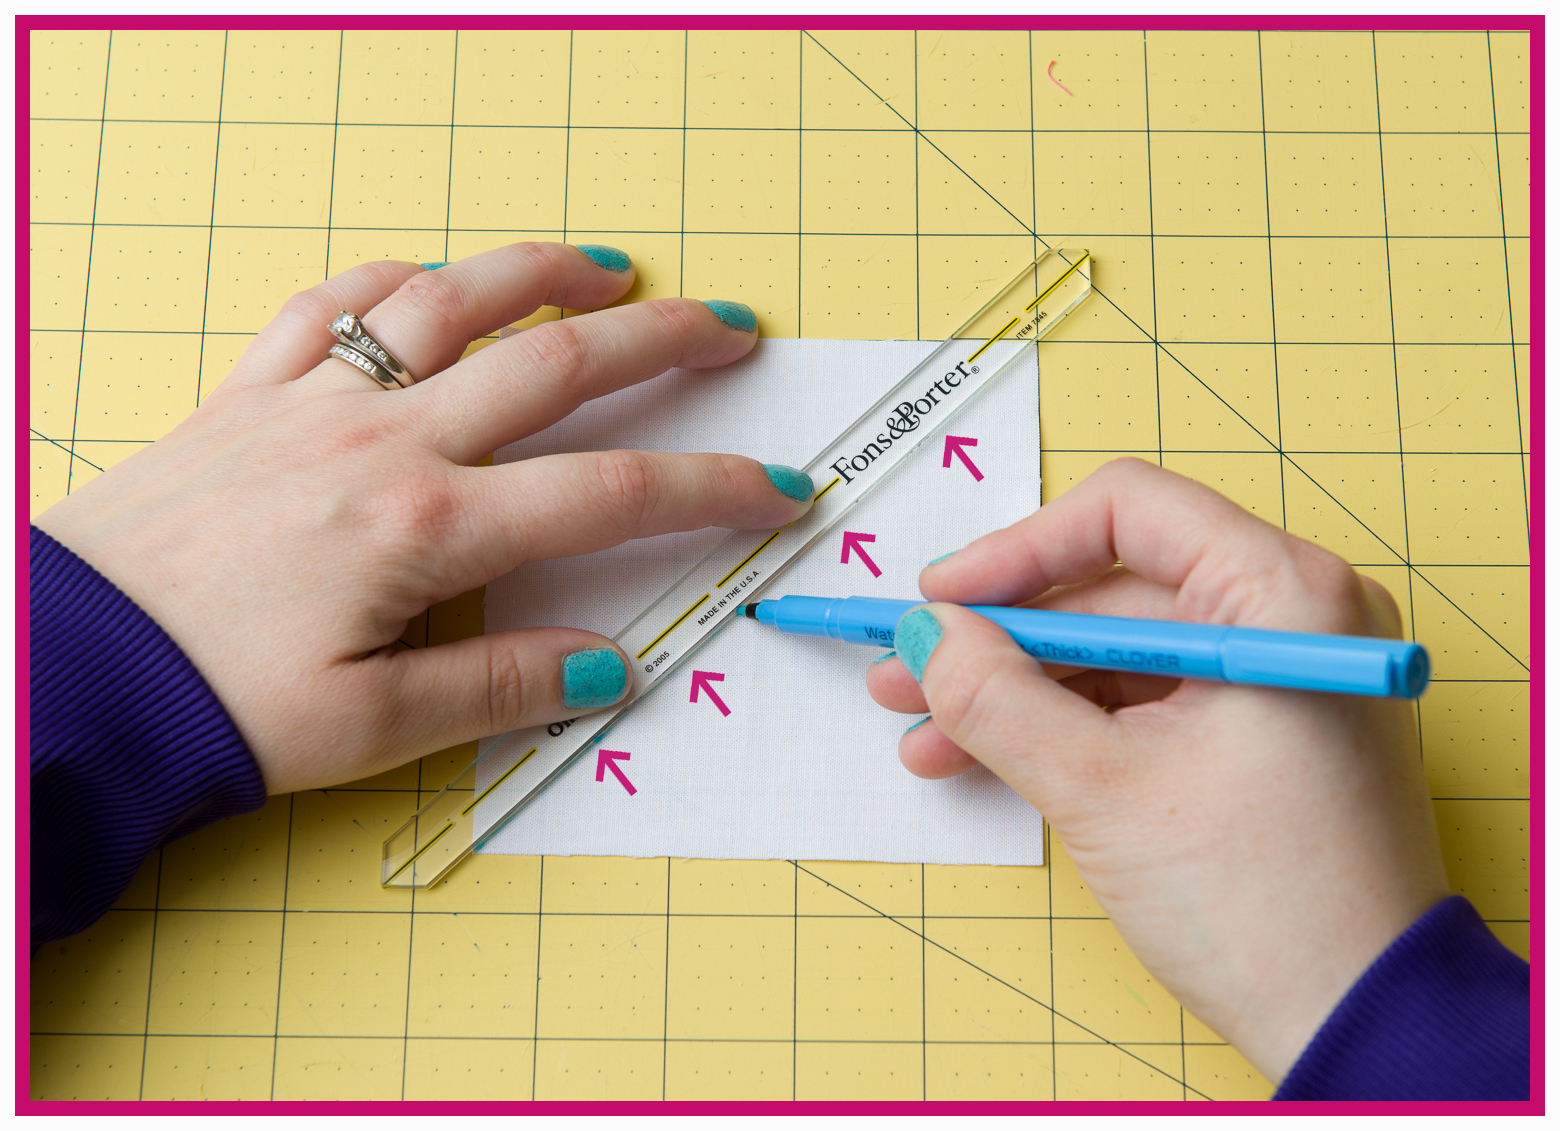
To start: Using a non permanent marking pen/marker, draw a line diagonally (corner 2 corner) on the wrong side of your white square.
Then place the middle of your 1/4 inch seam ruler on that line and draw a line on both sides of ruler. If you are using a regular clear ruler from the drawn line measure 1/4th inch on both side and mark.
Place a colored fabric square right side up with a white square on top so that your fabric squares are both right sides together.
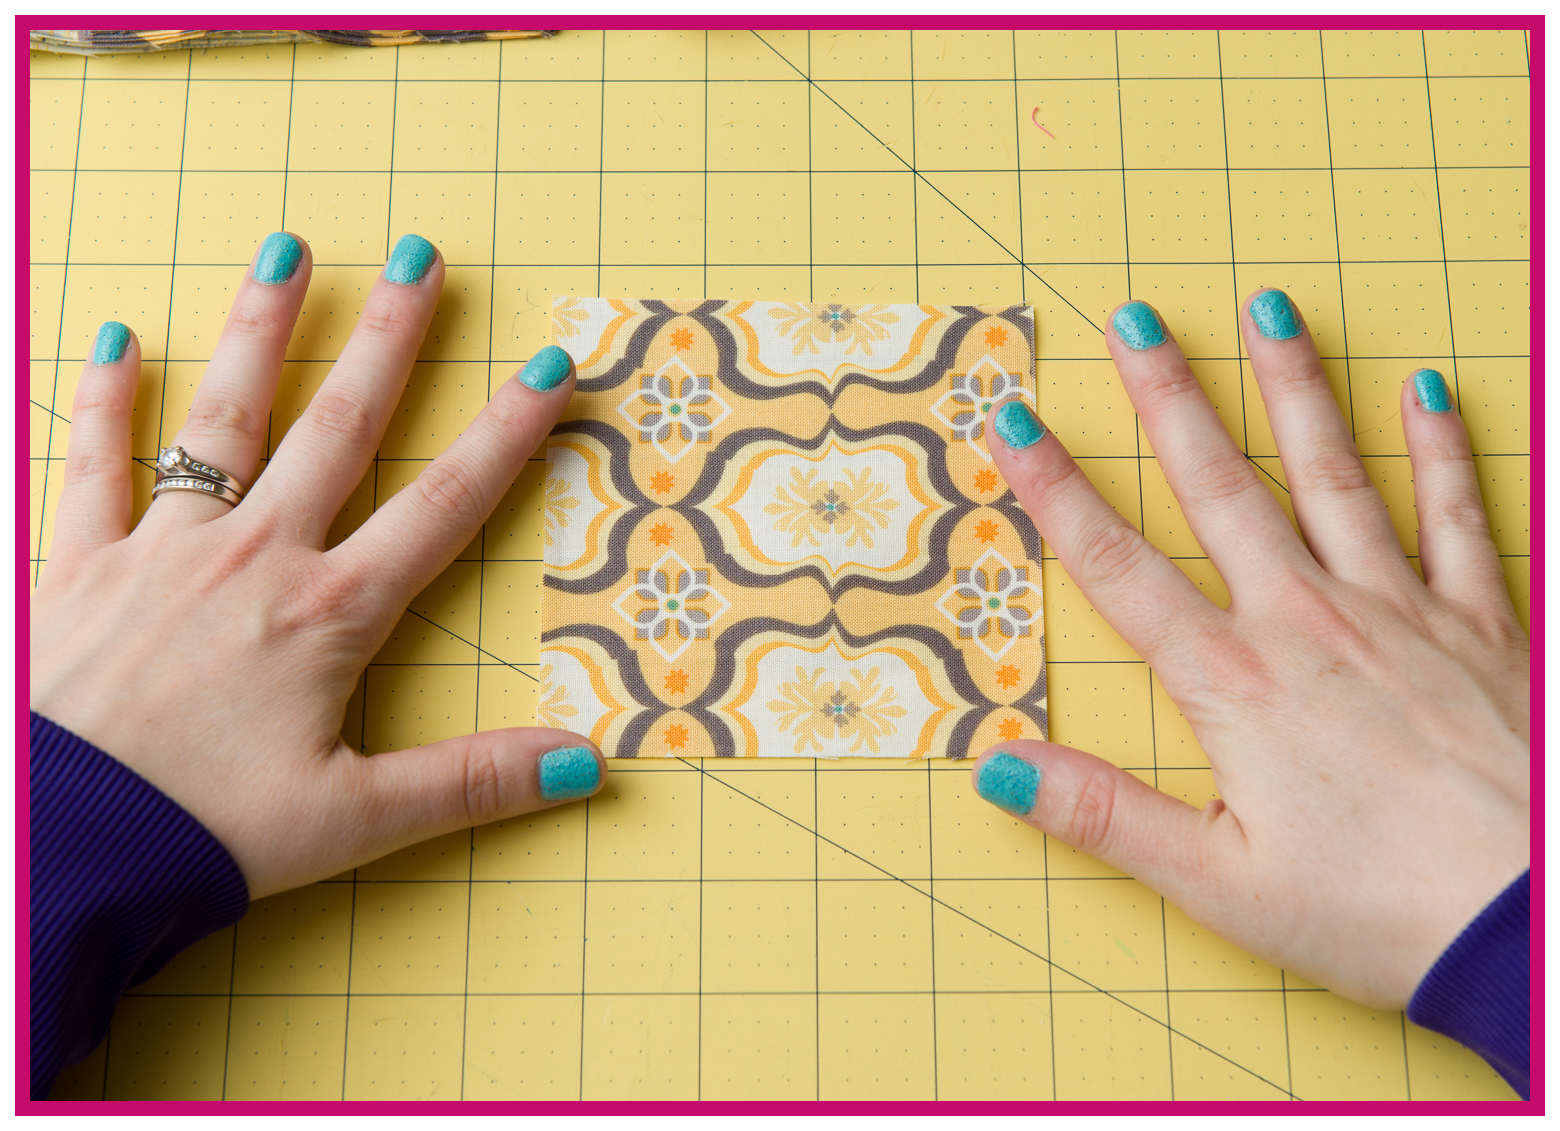
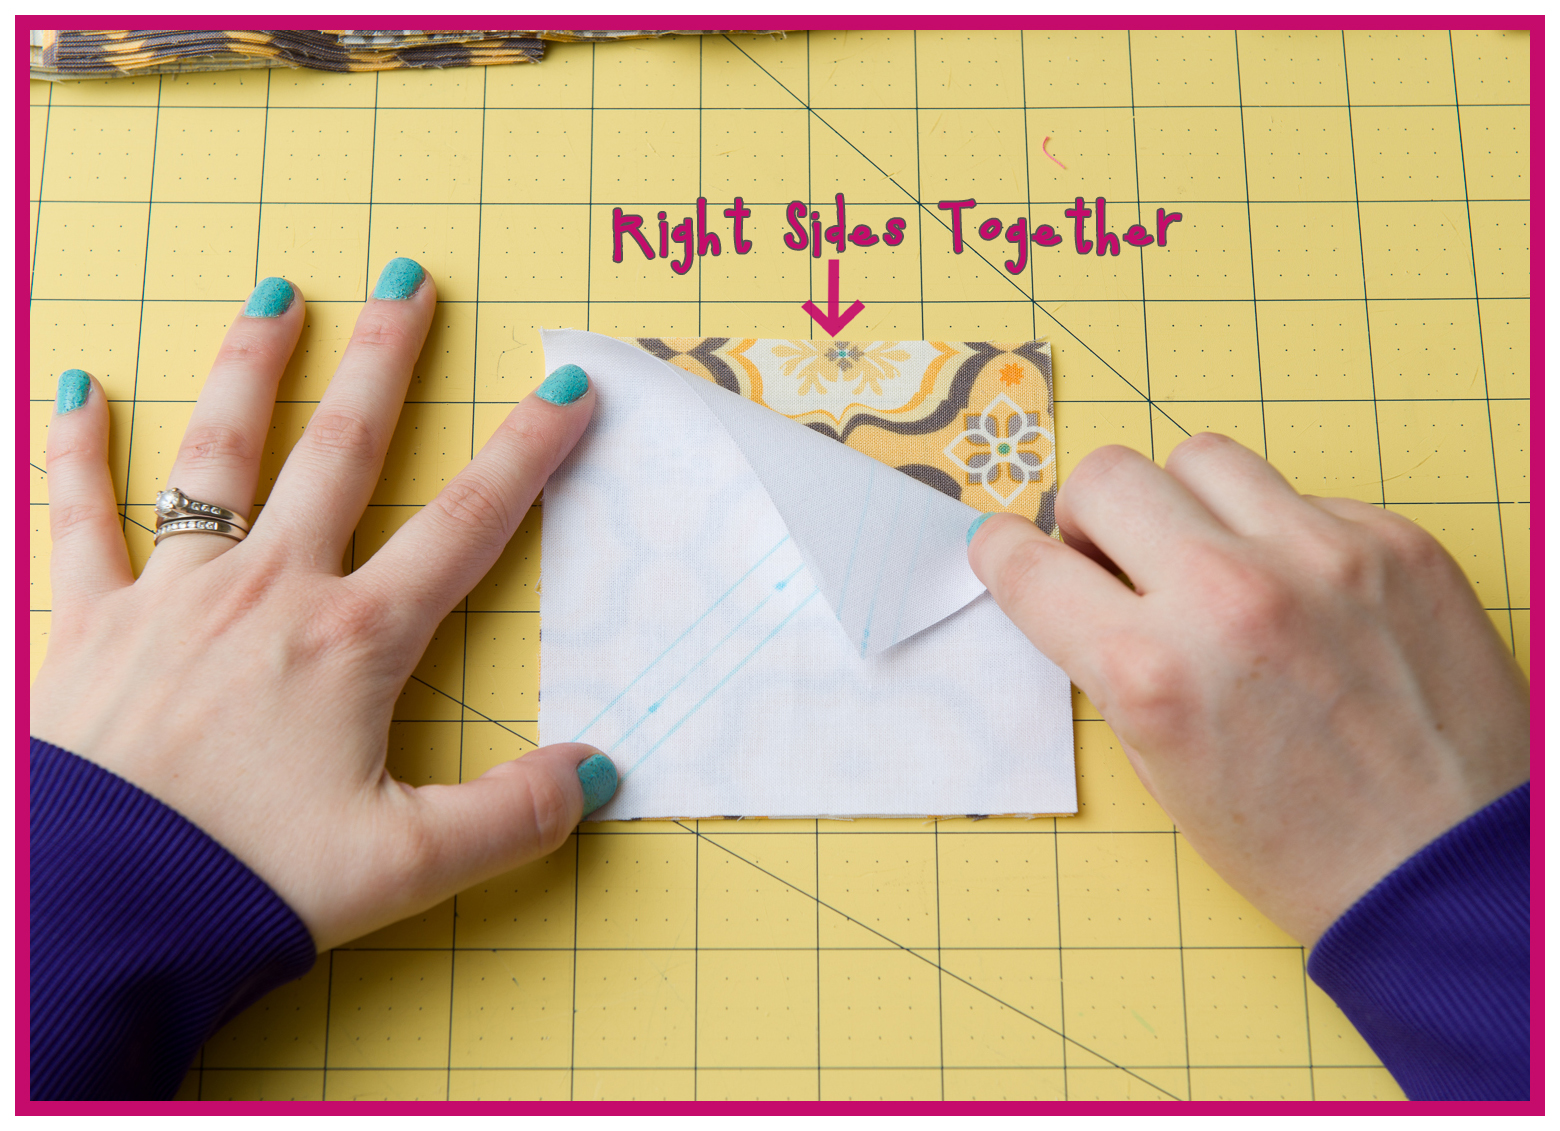
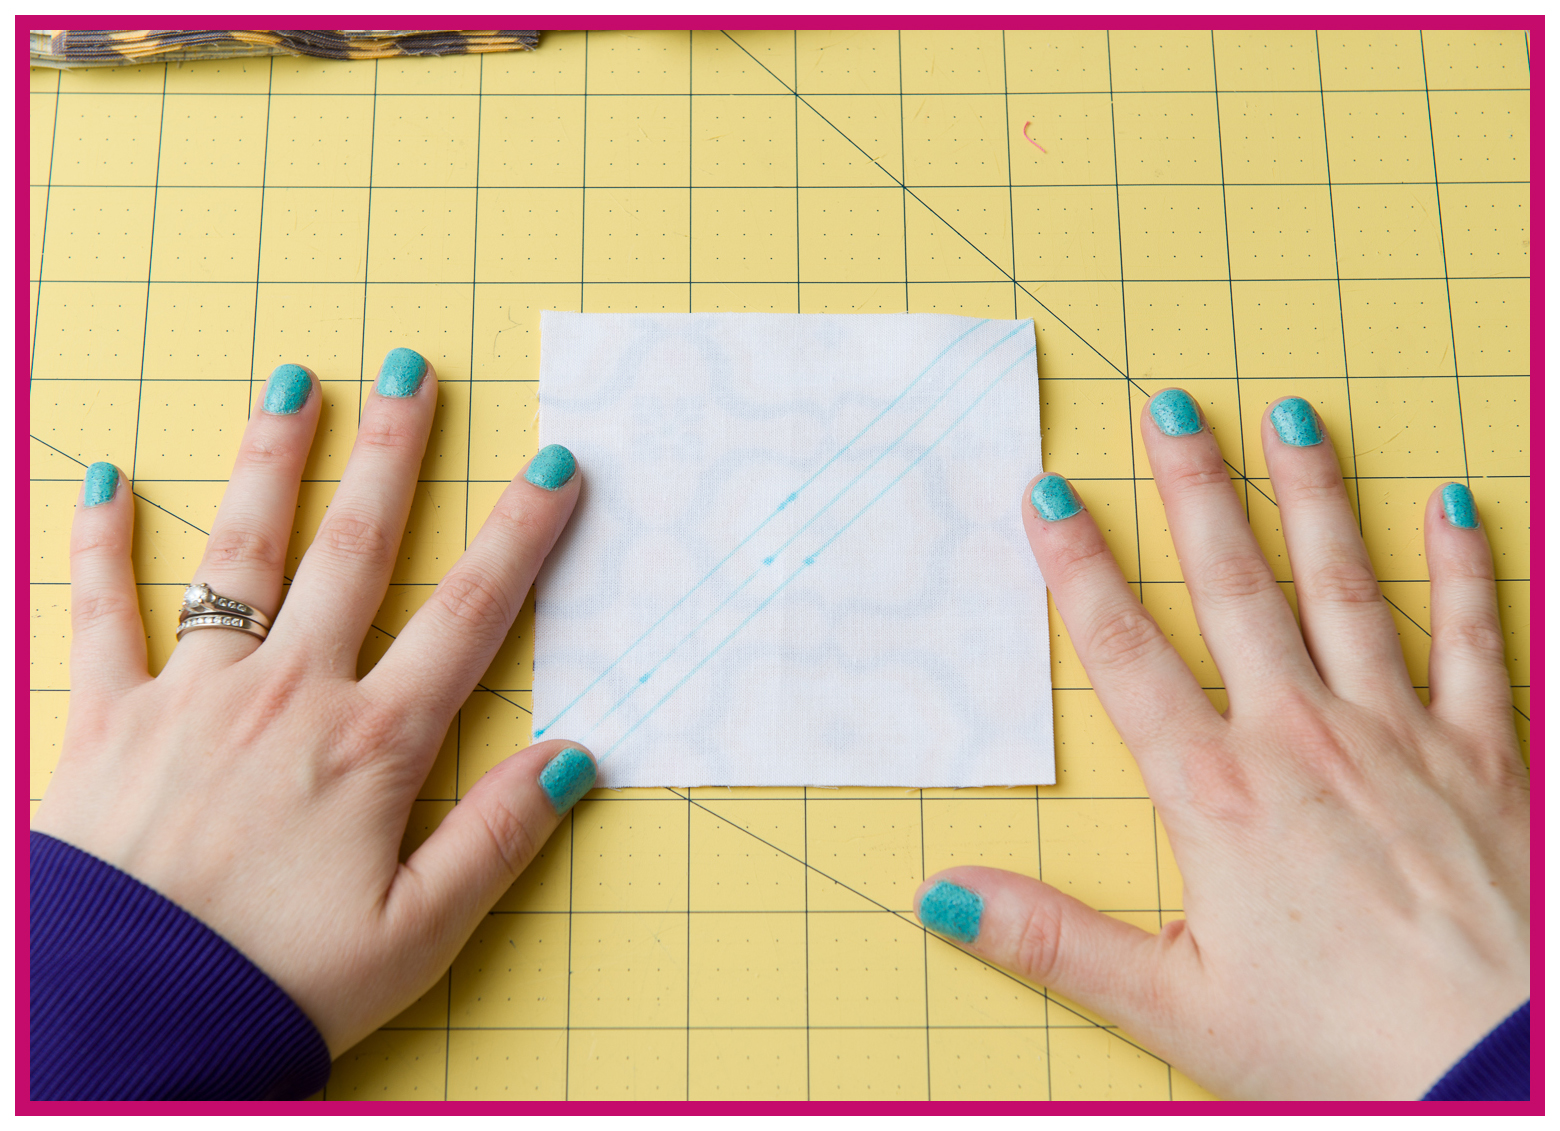
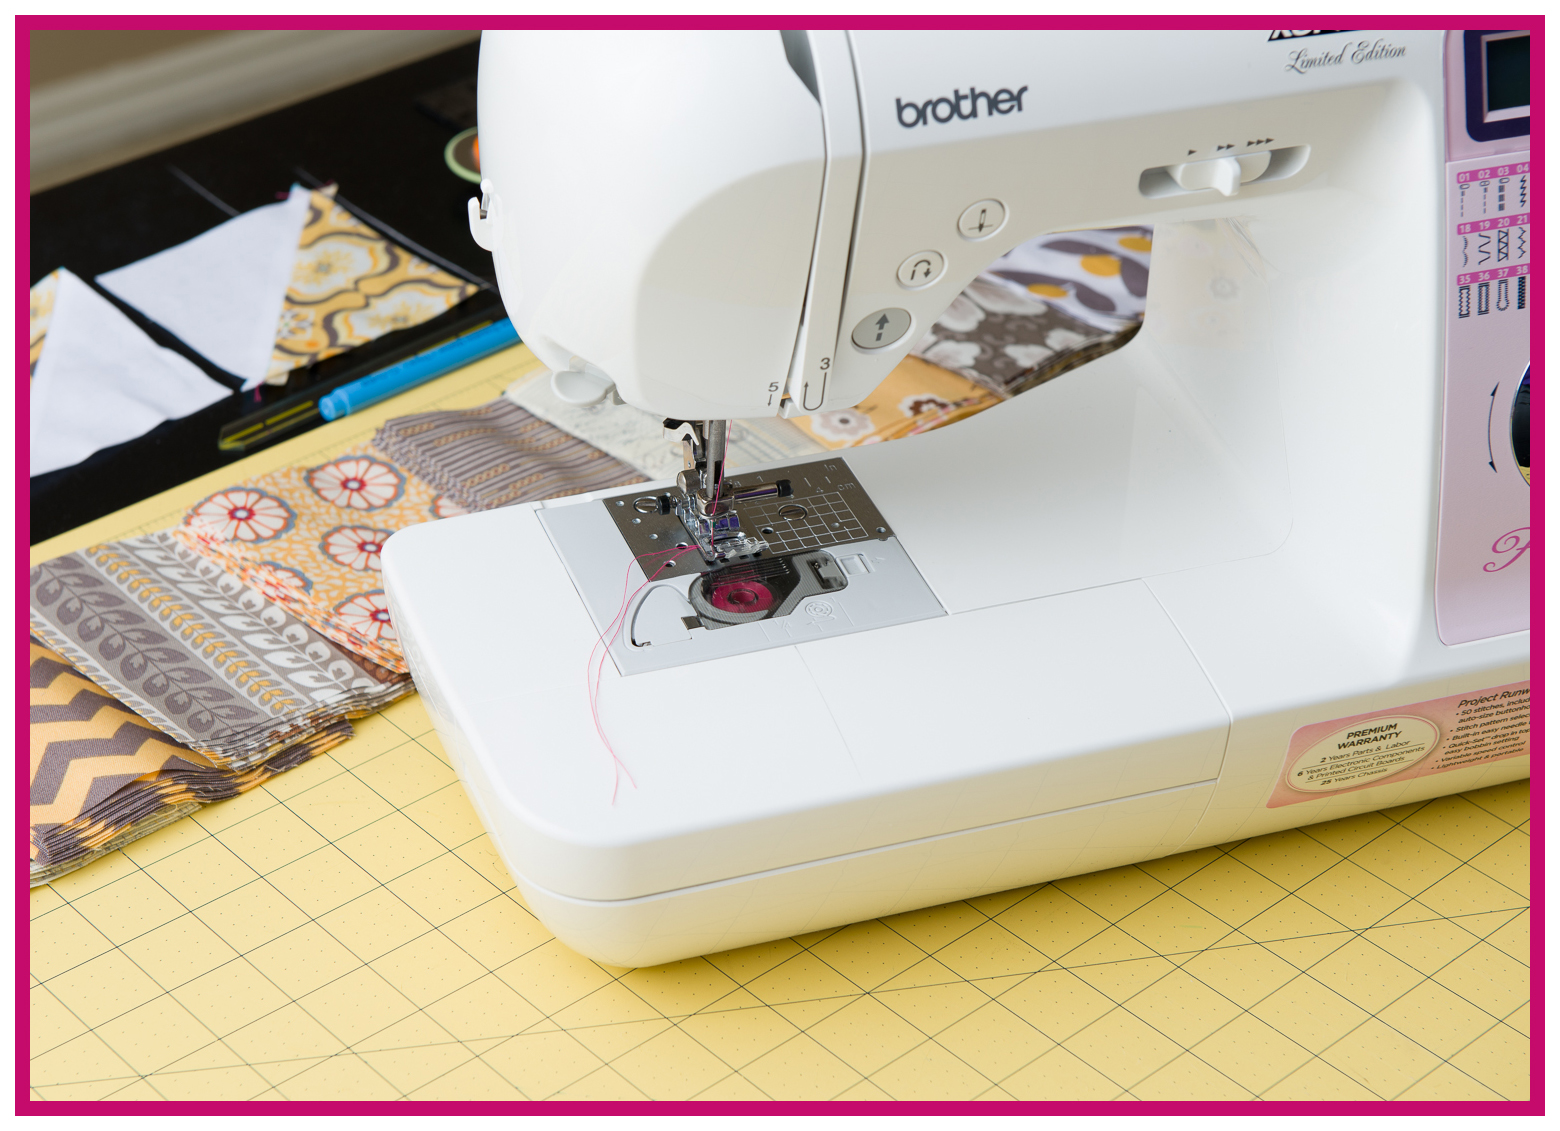
Time to sew…Ready? Just remember, that all seams for this quilt are 1/4th inch seams.
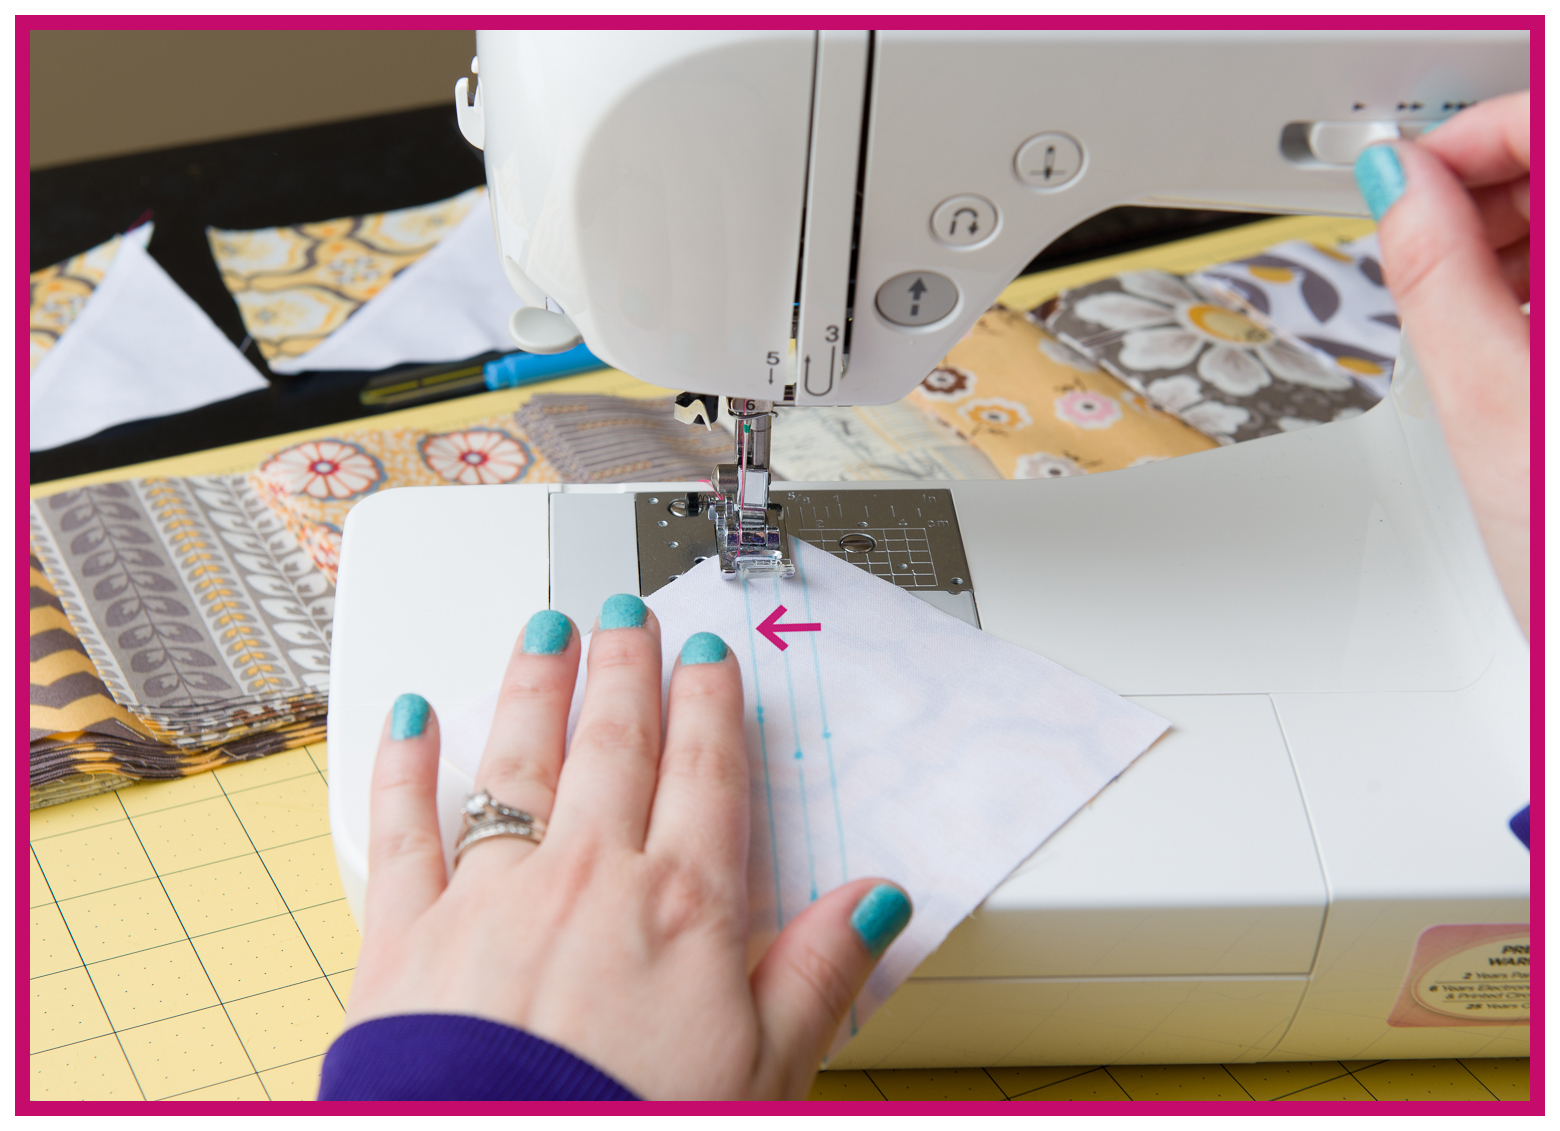
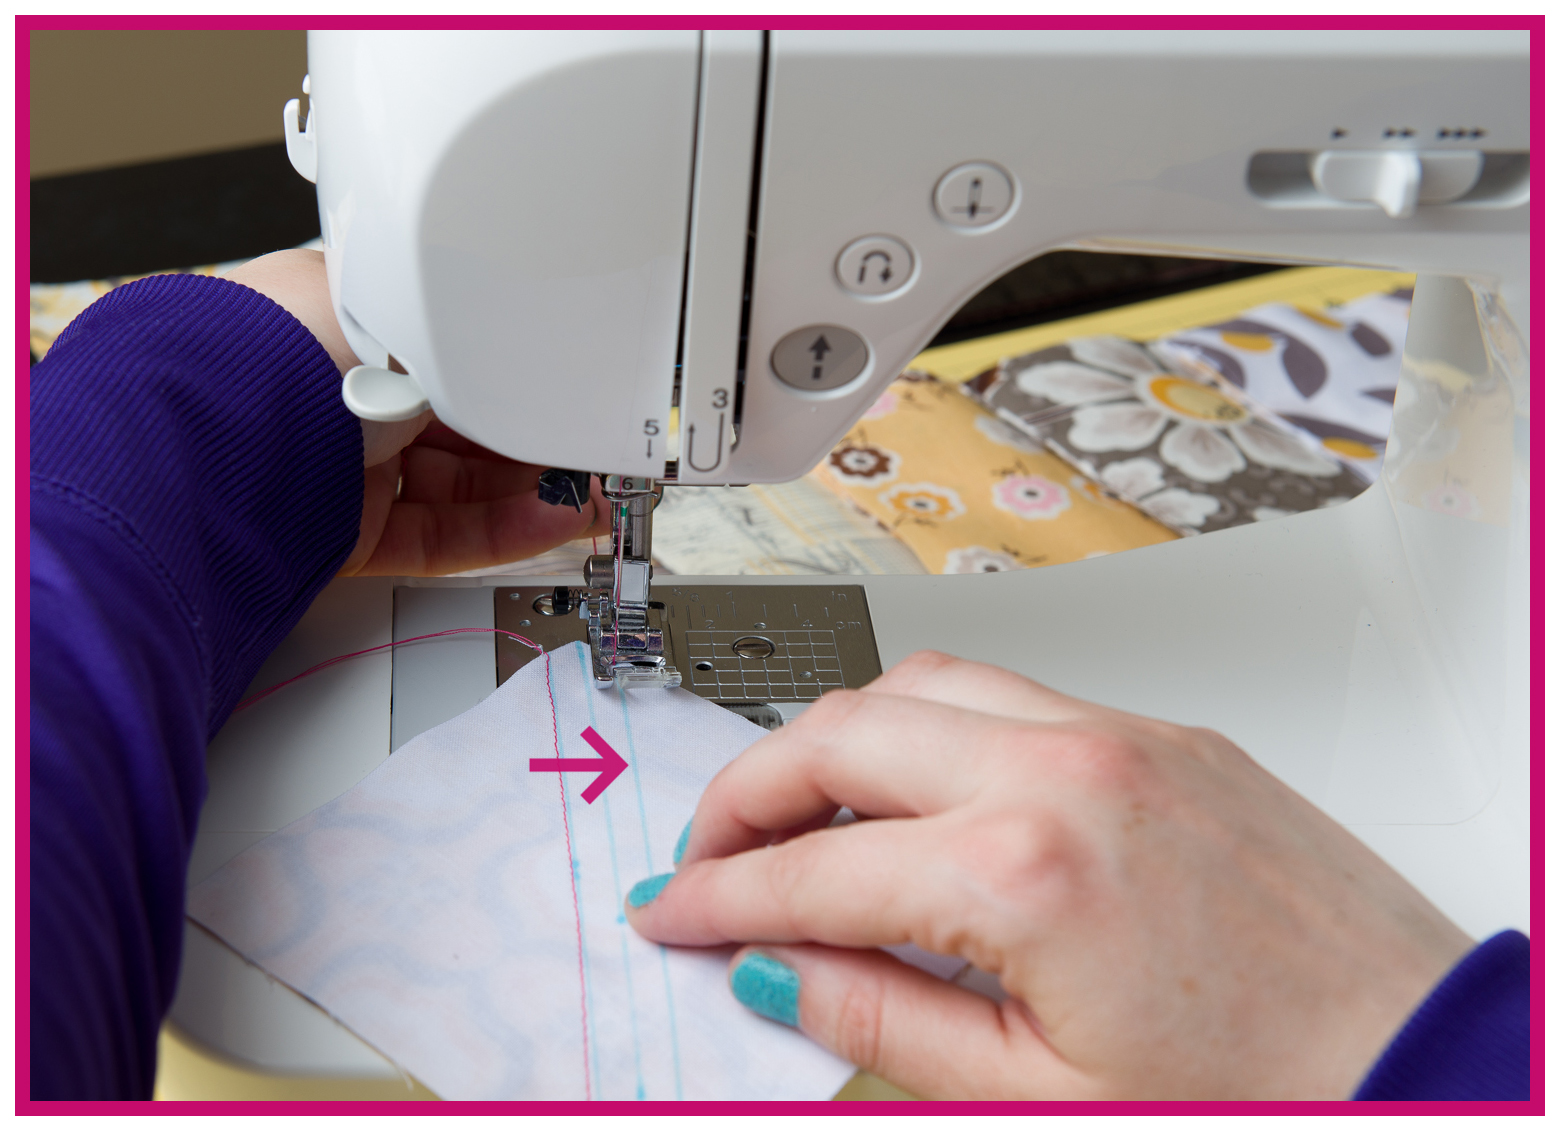
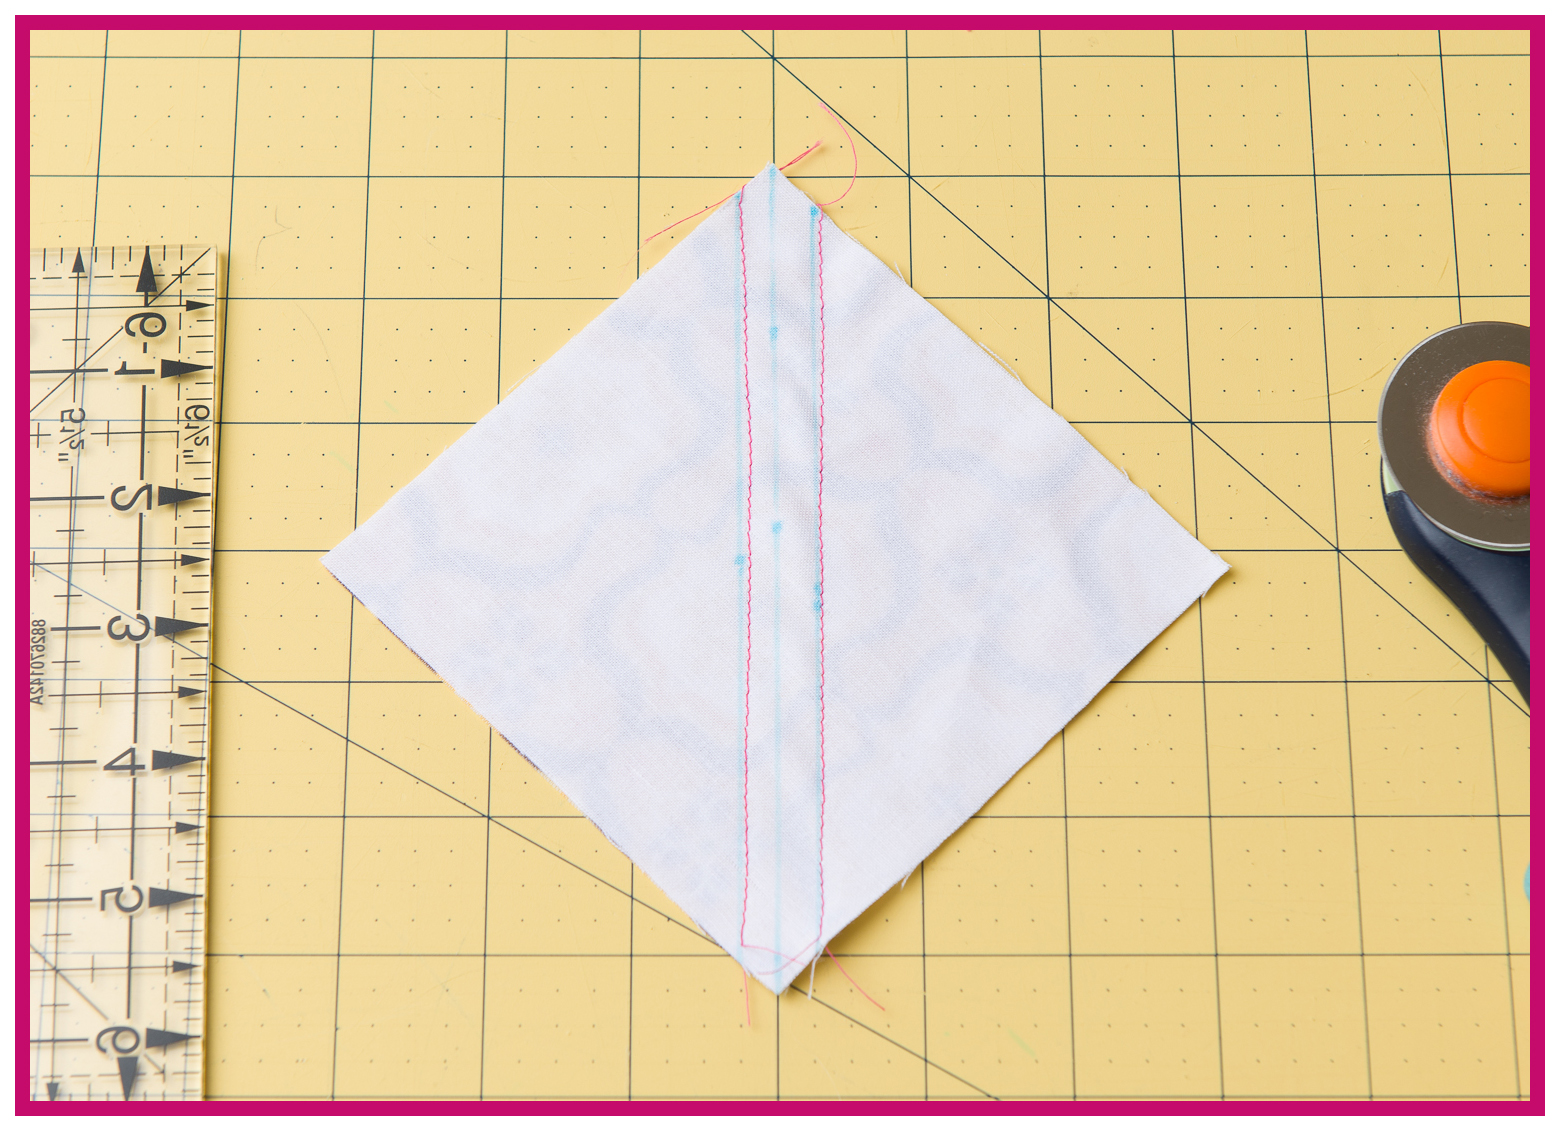
Sew down both outside lines. (I’ve used pink thread to illustrate where I’m sewing, but it is best to use a white or coordinating thread and be sure to use the same thread on top and bottom.)
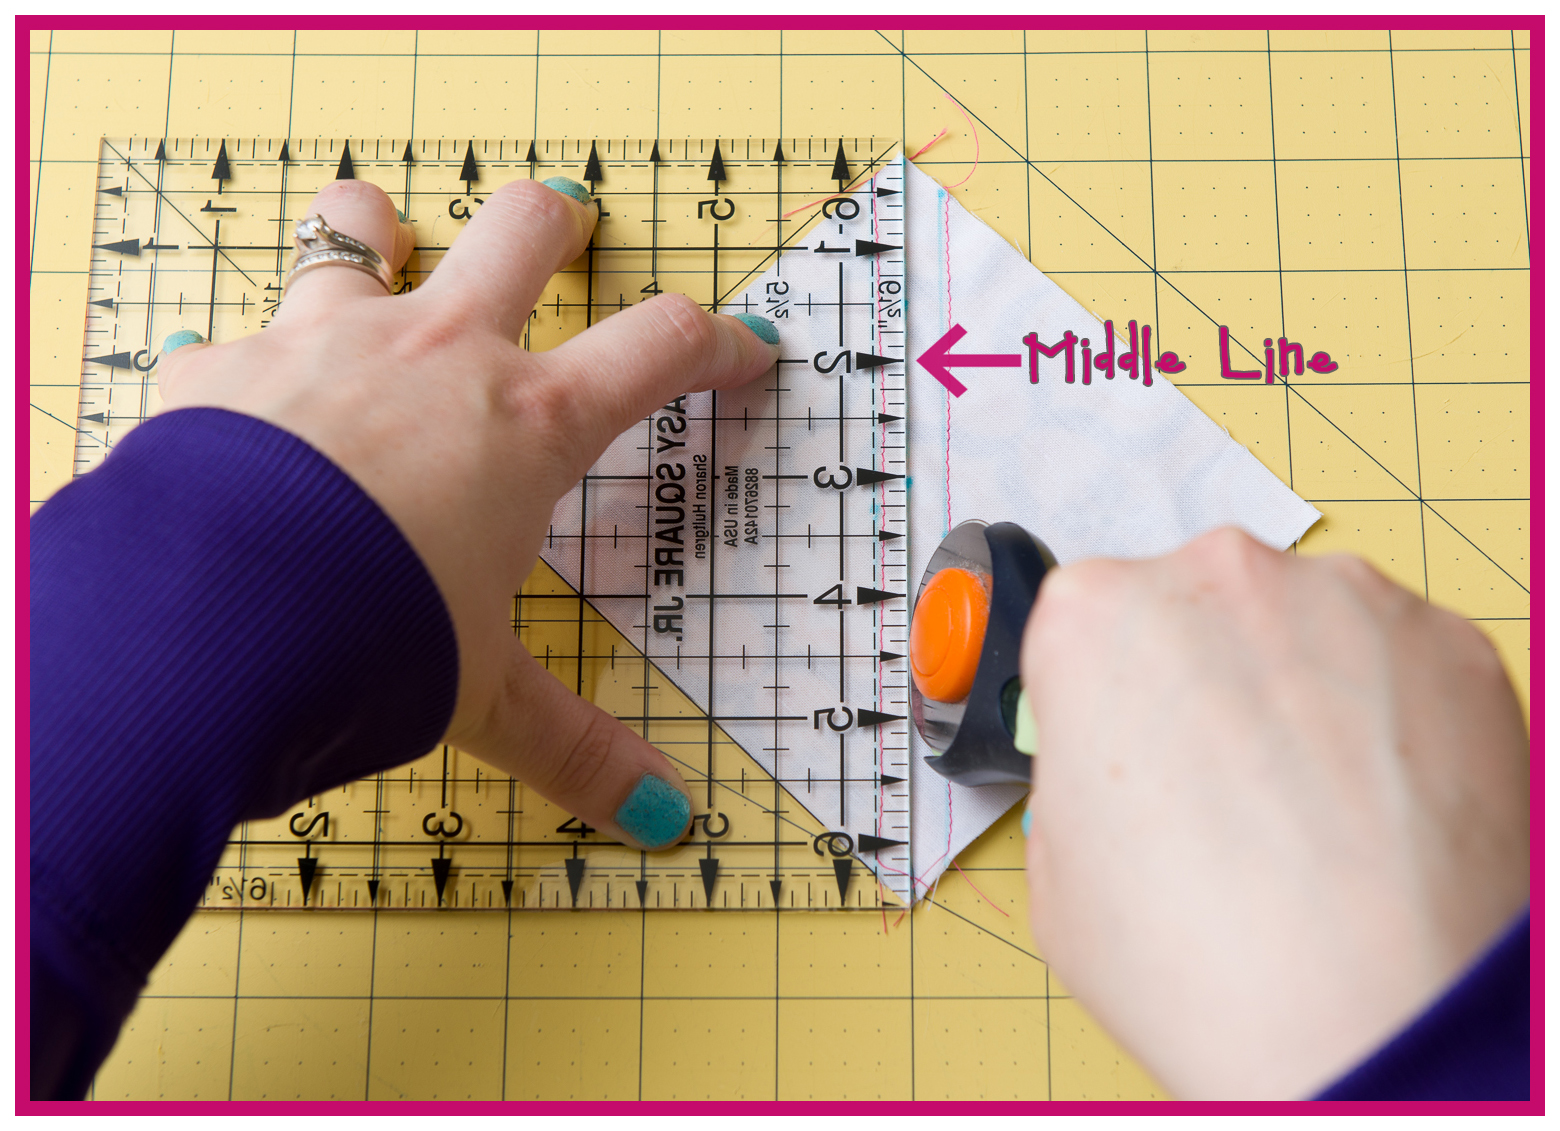
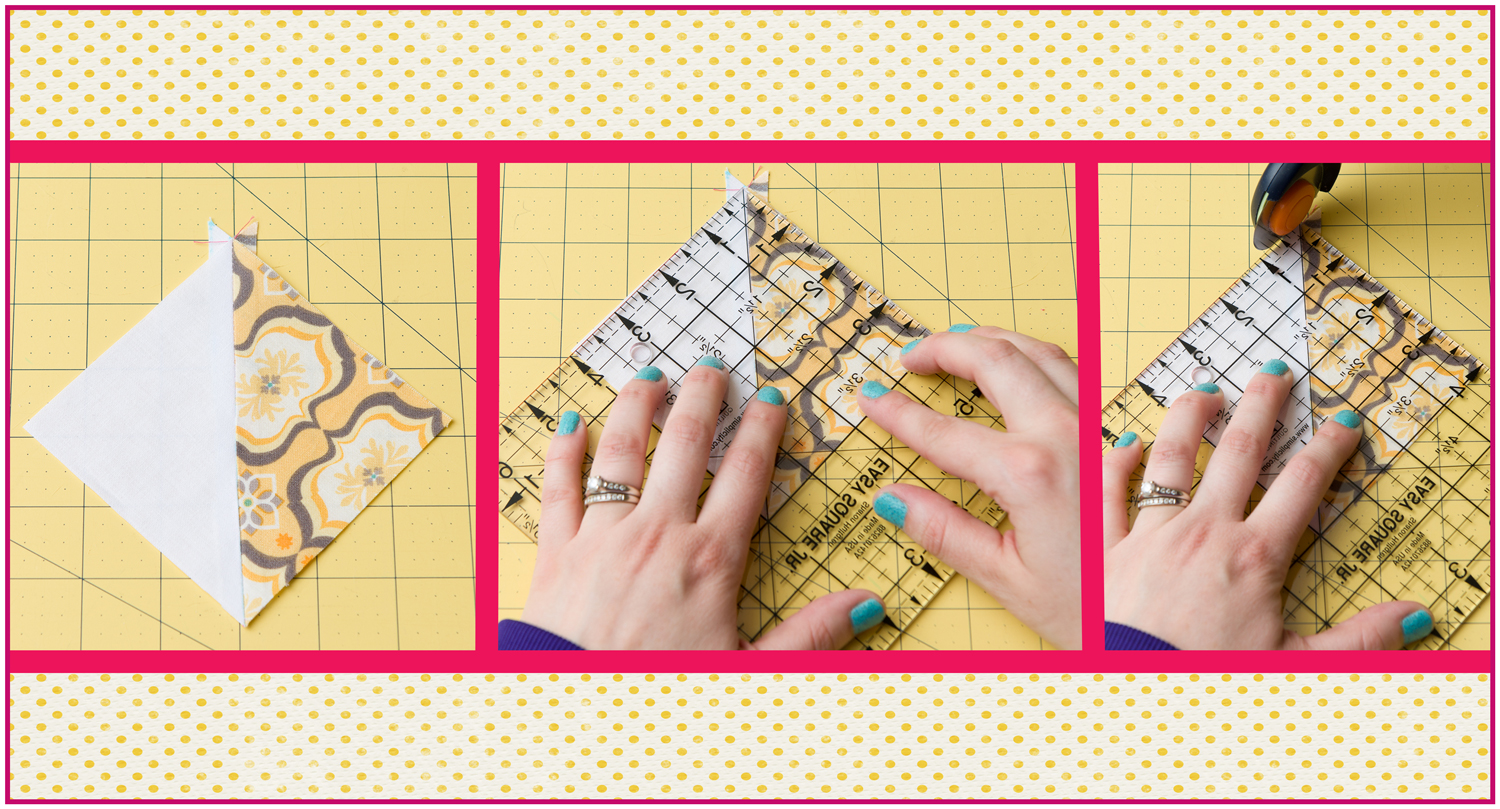
Now that your squares are sewn together, using your trusty rotary cutter and ruler, cut up the middle line. Separating the squares.
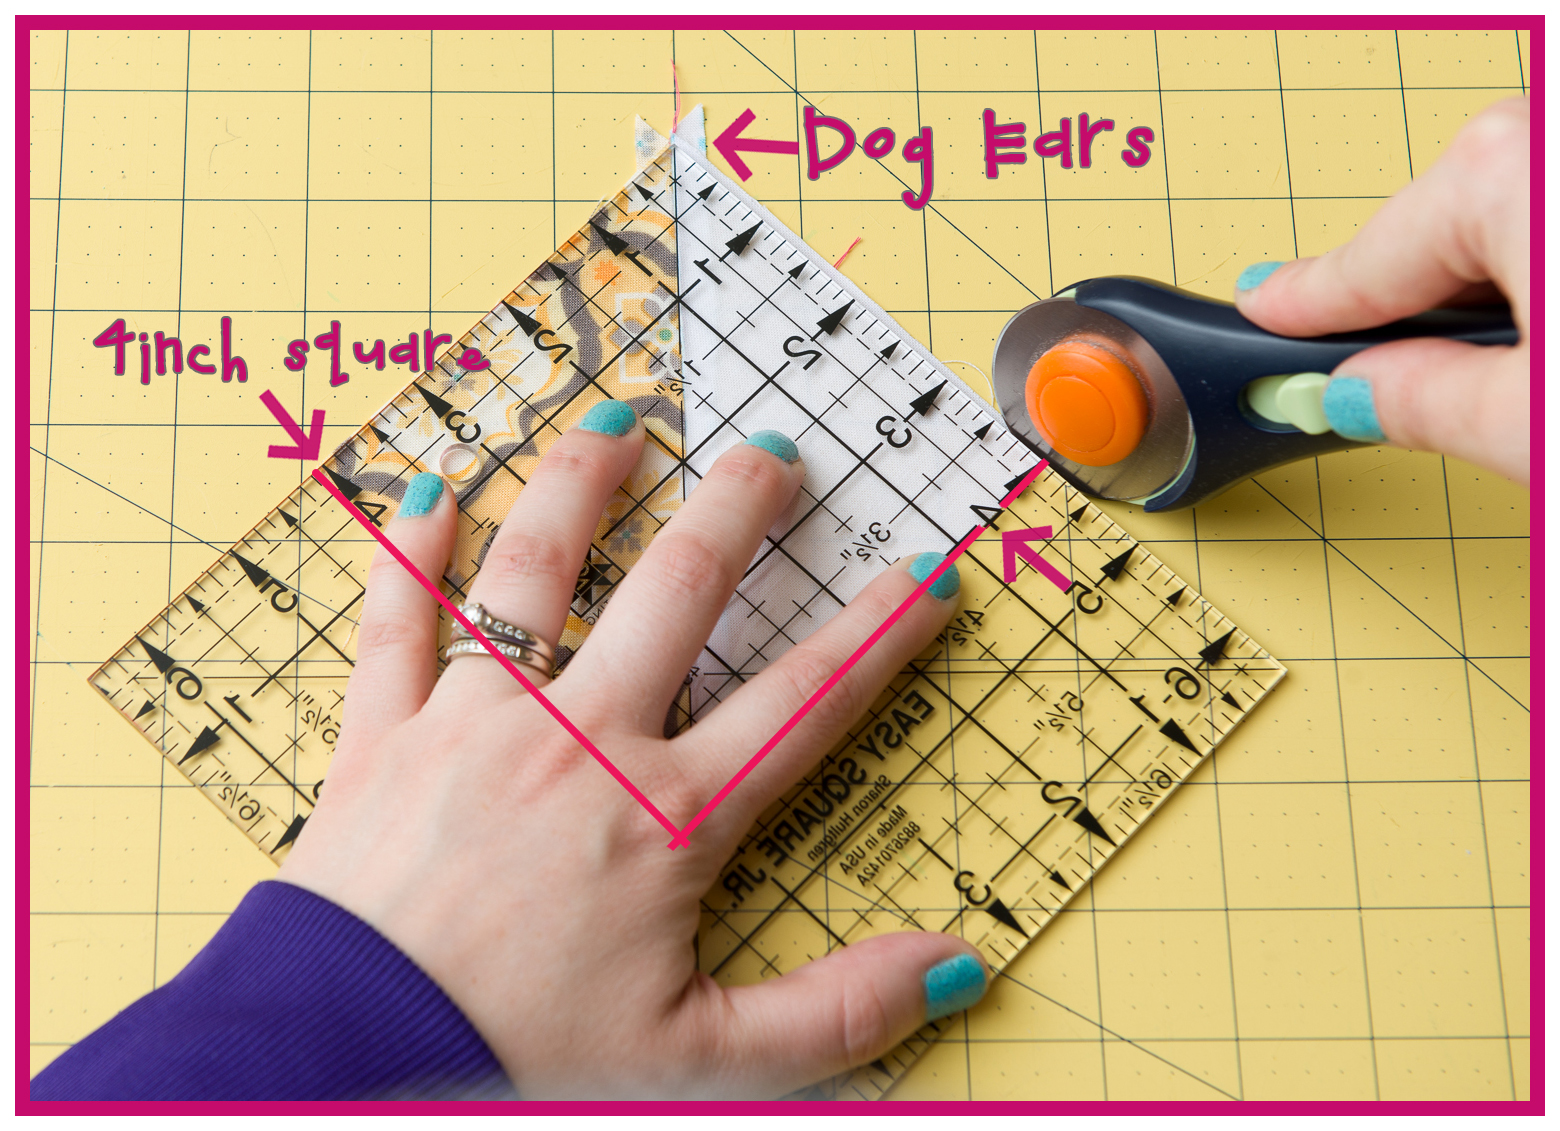
Last 2 steps… Press your seam open and trim off the dog ears and square it up.
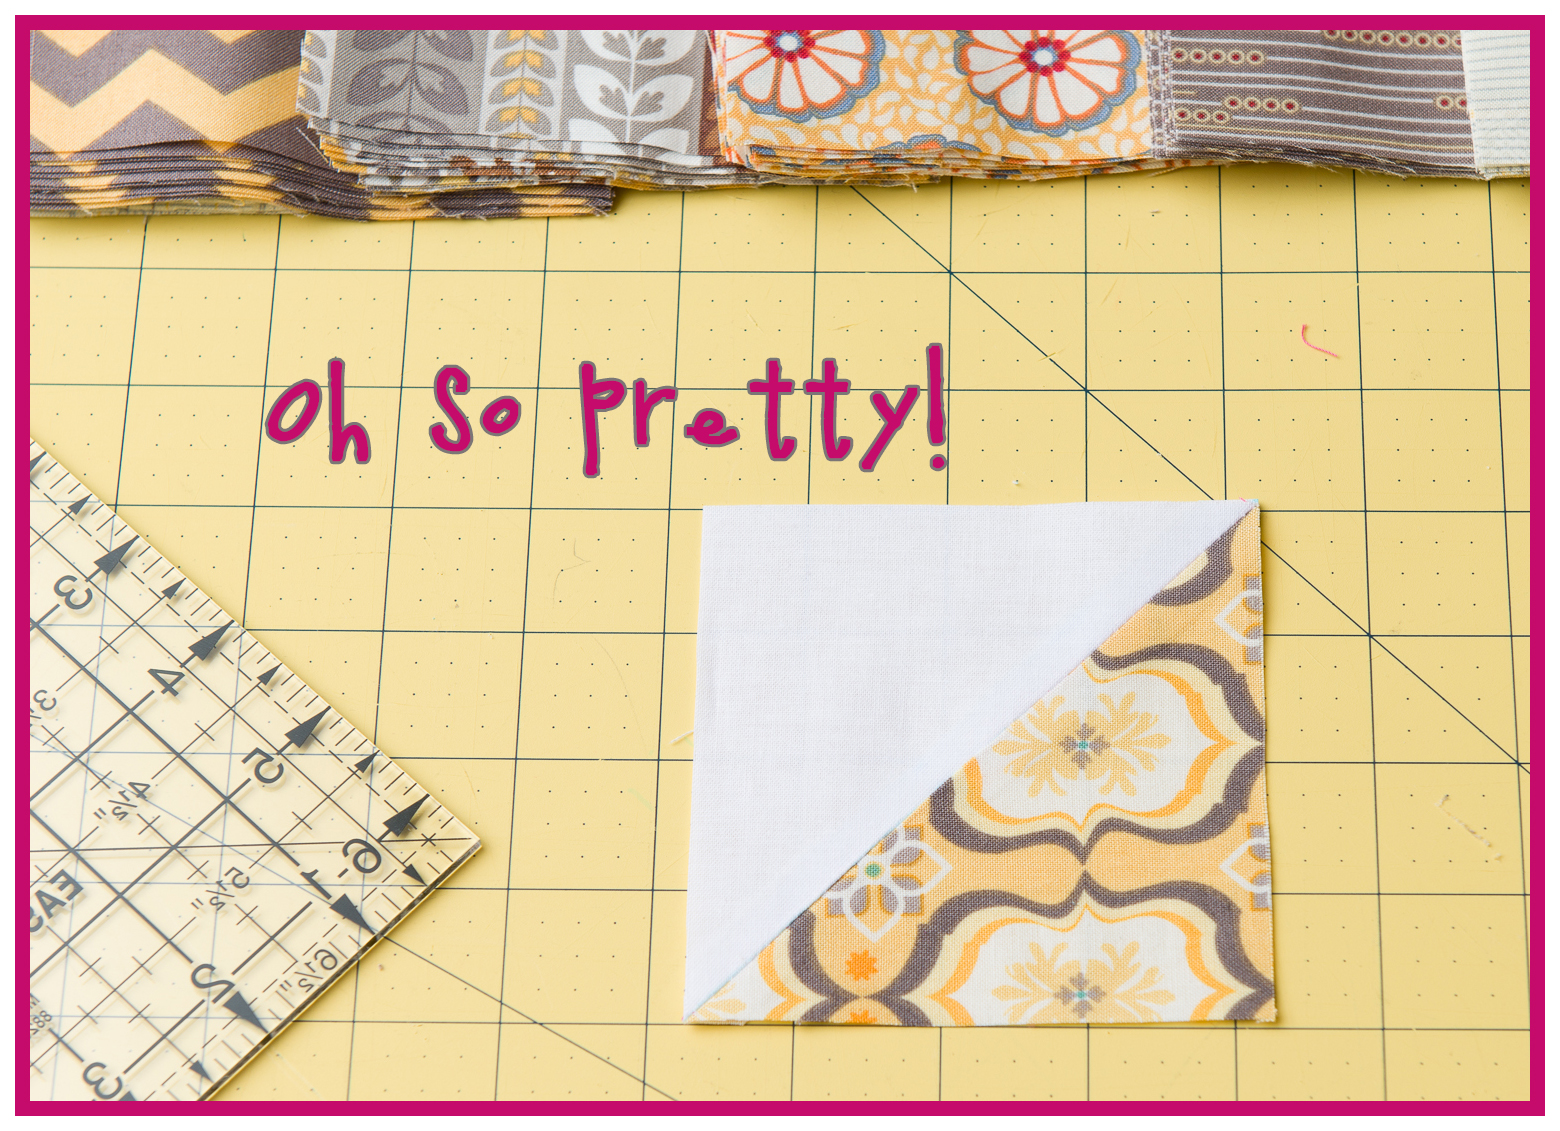
Your end result should be a tidy little 4 inch square.
AWESOME JOB! Now repeat, repeat, repeat. (to make it a little easier I like to do it assembly line style…marking all, sewing all,cutting all ext…)
Can’t wait for the Block party!!!
Till then Best Stitches and Tinker On!
~Emily
Pattern info:
- Sea Glass Quilt Kit By Pat BravoFeatured In Quilt-It…Today April 2014 Issue
